InstaMaterial concept (part 7) - Navigation Drawer
This post is a part of a series of posts showing Android implementation of INSTAGRAM with Material Design concept. Today we’ll create Navigation Drawer - left sliding panel which shows global application menu. This element is presented between the 32nd and 35th second of the concept video.
Also we’ll create DrawerLayoutInstaller - simple tool for injecting DrawerLayout into Activity layout without messing with xml file.
The most recent app version is available in Google Play Store
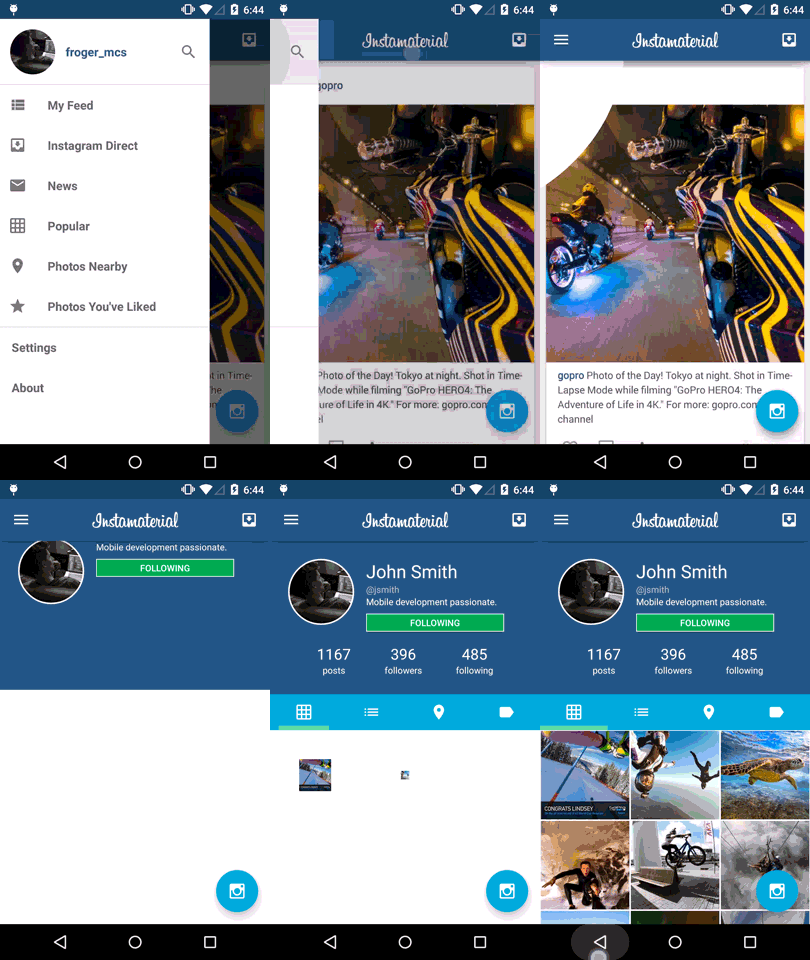
Here is the final effect described in today’s post:
Introdution
Navigation Drawer is a very well known design pattern used in Android (and other mobile platforms). It’s a panel that transitions in from the left edge of the screen and displays the app’s main navigation options. Sometimes it transitions in from the right edge, but until you have a good reason for this, it’s rather bad design implementation, which you shouldn’t copy.
Navigation Drawer pattern is also well documented (from both - design and programming sides). If you want to deep into design rules just check Navigation Drawer design guide. Also today I won’t write too much about programming this pattern. Instead of this I recommend you to read the official documentation of Creating a Navigation Drawer.
In this post, instead of copying the documentation, we’ll prepare DrawerLayoutInstaller - a stub of simple tool, which can help us to configure and inject DrawerLayout into every Activity whithout messing with each xml file.
Navigation Drawer implementation
Preparation
Before we start, let’s make some preparation by adding resources, and less meaning boilerplate.
First of all we have to add all icons used in app’s menu:

Not each of them looks like on the concept video, but all are taken from the Material Design icons by Google.
Our menu is built on top of ListView, so we have to prepare layout for list items used in it. Here are three different layouts:
-
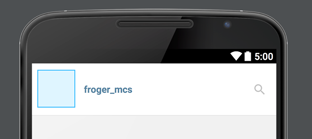
Header with user avatar and nickname

-
Menu button

-
Divider (used between menu buttons)
Here is the full commit with all new resources.
GlobalMenuView
Now let’s prepare layout for our global menu. Basically it’s a simple ListView and we could build it in xml file. But in case when we want to inject this view into more Activities it’s better to prepare it programmatically.
Requirements for this view are simple - just display options list and user profile. So the implementation isn’t too complicated:
As you probably noticed, user profile view is used as ListView’s header. That’s why we have to add custom listener for onClick handling. The rest is pretty straightforward.
GlobalMenuAdapter is even simpler, so I won’t paste source code here. Instead, check this commit with GlobalMenuView implementation.
Navigation Drawer
Now it’s time to create Navigation Drawer implementation. First of all let’s prepare xml root view for our DrawerLayout:
This generic layout can host custom root view (in vContentFrame element) and custom left drawer item (vLeftDrawer element).
DrawerLayoutInstaller
Now it’s time to prepare our tool for injecting DrawerLayout into Activity layout tree. Probably DrawerLayoutInstaller will be developed in the future but now the requirements list is short and simple:
- Injecting DrawerLayout into existing Activity layout without messing with its xml file,
- Possibility to define custom DrawerLayout xml root and custom left item view,
- Some customization (left item width, custom toggler for opening/closing drawer
The first point is done with three simple steps:
- Get root view from given Activity (we can get it by
activity.findViewById(android.R.id.content)) and take its only child - Put drawer layout as a new child in root view
- Put taken child into drawer’s content view
Implementation:
The rest you can find in full DrawerLayoutInstaller implementation.
Finally we can put everything together. Firstly in BaseActivity we have to construct our GlobalMenuView and then just put it into DrawerLayout and inject everything to Activity layout:
And the last thing - implement onGlobalMenuHeaderClick() which should open ProfileAcitivty:
In this case handler delays opening until DrawerLayout closes. Here is the final effect:

That’s all for today. It was super fast and simple, as always it should be. Thanks for reading! 😄
Source code
Full source code of described project is available on Github repository.
Author: Miroslaw Stanek
If you liked this post, you can share it with your followers or follow me on Twitter!
